
Master How to Read a Golf Hole Before Playing in 4 Key Steps
This post contains affiliate links. As an Amazon Associate, we earn from qualifying purchases.
To read a golf hole before playing, execute a four-step process from the tee: 1) Identify the hole’s shape and primary objective, 2) Map all hazards and their carry distances, 3) Analyze the green’s contour and pin position, 4) Adjust for wind and elevation. This turns a guess into a plan. Mid-handicap golfers miss their target by 8–10 yards on average; a systematic read cuts that error in half.
That error margin is the gap between looking at a hole and actually seeing it. Most players see a fairway, a flag, and some sand.They miss the designer’s intent, the hidden slopes that collect errant shots, and the single yardage number that makes the club choice obvious.
What follows is the same pre-shot routine a touring pro uses, stripped down for any handicap. We’ll walk through the four visual checks, explain how to use a yardage book, and show you where to place your ball when the hole seems to give you no good options.
Key Takeaways
- Mid-handicap golfers average an 8–10 yard miss from their intended target; a proper read focuses on reducing this specific error margin.
- A 10 mph wind moves a 7-iron shot 5–7 yards, and every foot of elevation change equals one yard of distance, ignore these and you’re guessing.
- Always find the “penalty area” on the green, the slope or bunker that turns a marginal miss into a double bogey, and aim away from it.
- If your plan fails early, diagnose whether it’s a technical swing flaw or a perceptual misread of distance/wind; only adjust the latter mid-round.
- A modern yardage book contains four critical diagrams per hole: tee shot, approach, green contour, and a pin-location grid.
The 4-Step Process for Reading a Golf Hole
Stand behind the tee markers. Take thirty seconds. This is where the round is built or broken, and the process is mechanical, not mystical.
The systematic reading of a golf hole involves a top-down visual analysis: from the overall hole shape and objective, down to specific hazard carry distances, into the green’s contour and pin placement, finalized with real-time adjustments for wind and elevation. This sequence transforms raw landscape data into a executable shot plan.
Step 1: Define the Hole’s Shape and Your Objective.
Is it a straightaway par 4, a dogleg left, or a par 3 over water? The shape dictates your strategy before you consider a club. Your objective isn’t always “get as close as possible.” On a tight dogleg, the objective is to find the corner’s apex for a clear approach. On a long par 5, it might be to position your second shot in a specific fairway zone. Name the goal first.
Step 2: Map All Hazards with Carry Distances.
Don’t just note “there’s a bunker.” Find out how far you must carry it. Look for sprinkler heads, yardage markers, or use your rangefinder. Key distances to know from your tee: * Carry to the fairway bunker on the right. * Carry to clear the water guarding the dogleg. * Width of the landing area at your ideal driving distance. This turns hazards from scary monsters into simple numbers. If you can’t carry the bunker 220 yards out, your driver is the wrong club.
Step 3: Analyze the Green Complex.
Where does the pin sit? Is the green elevated with a false front? Which side is the bunker on? Most importantly, identify the “penalty area”, the part of the green that severely punishes a miss. If the pin is tucked right behind a deep bunker, the penalty area is short. Your approach target becomes the fat, left side of the green. This is how you avoid big numbers.
Step 4: Adjust for Conditions.
Now, and only now, do you pull a club. Take your base yardage and adjust. * Wind: A 10 mph headwind adds one club (about 10 yards). A 10 mph crosswind moves a 7-iron 5–7 yards offline. * Elevation: For every foot the green is above you, add one yard. For every foot it’s below, subtract one yard. * Lie: Is the ball above or below your feet? This affects trajectory.
These four steps compress a caddie’s job into a repeatable routine. The alternative is visualizing a shot and hoping the landscape agrees.
How to Use a Yardage Book (If You Have One)
A yardage book is a course management cheat sheet. It gives you information you cannot reliably see from the tee or fairway. For tournament play or a new course, it’s indispensable.
A professional yardage book breaks each hole into four diagrams. Understanding them turns data into decisions.
| Diagram Section | What It Shows | The Critical Question It Answers |
|---|---|---|
| Tee Shot View | Carry distances to fairway bunkers, water, and dogleg corners. | “What’s the minimum carry to reach the ideal landing zone, and what’s the maximum before I run into trouble?” |
| Approach View | Distances from common layup spots to the front, middle, and back of the green. | “If I lay up to this spot, what’s my exact wedge yardage to a center pin?” |
| Green Contour Map | Detailed slopes, tiers, ridges, and false fronts. Arrows show break direction. | “If I miss the green on the left, will the ball feed toward the pin or kick into a bunker?” |
| Pin Location Grid | A 4×4 or 5×5 grid over the green. The day’s pin is circled (e.g., “C-3”). | “Exactly how many paces is the pin from the front edge? Is it on a shelf?” |
Where this goes sideways: Using the yardage book’s green map only for putting. Its primary job is approach strategy. Knowing the green’s back-left tier is four feet higher than the front-right tells you to avoid a long iron that might sail over the green into a downhill chip.
Studies of amateur golfers suggest that consistent use of a yardage book can shave 2–4 strokes per round. The gain doesn’t come from miracle shots. It comes from eliminating the two or three “What the hell was that?” shots per round that result from blind guesses.
Decoding Common Hole Designs
Course architects speak a language of slopes, angles, and hazards. Learning a few common phrases tells you what they want you to do, and where they hope you’ll fail.
Dogleg Holes
A dogleg is a risk-reward test. The corner is usually guarded by trees or bunkers. * Strategy: Your tee shot target is the inside corner of the dogleg.Hitting to the outside leaves a longer, often obstructed, approach. For most players, taking less club to find the fairway at the corner is better than driver into the rough. * Read: If the fairway slopes toward the corner, the architect is encouraging a draw or fade to follow the contour. Fighting that slope is hard.
Blind Shot Holes
The landing area or green is hidden. This is a test of trust and preparation. * Strategy: You must use a fixed landmark. A distinctive tree, a bunker lip, or a tower in the distance becomes your target. Never hit a blind shot without one. Your warm-up routine should include practicing shots to a specific tree on the range to build this trust. * Read: Often, the area hidden from view is the most heavily bunkered or sloped. Assume the worst and play conservatively.
Elevated Greens
A green that sits above you plays longer. One below you plays shorter. * Strategy: The adjustment is one yard per foot of elevation change. For a green 10 feet above you, add 10 yards to your club selection. More importantly, an elevated green usually has a firm front. You need the carry distance to reach the surface; a ground-roll approach won’t work. * Read: False fronts are common. The green may appear closer than it is. The yardage to the back of the green is often the safer play.
Adjusting for Weather and Course Conditions
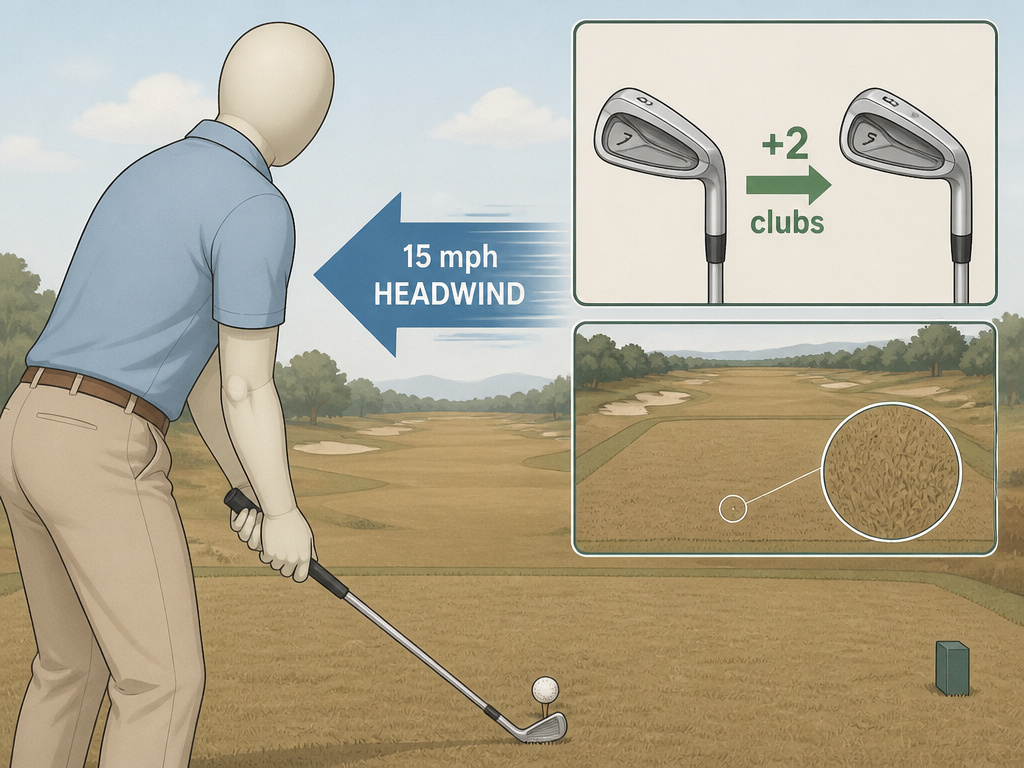
Wind and firmness change everything. Your pristine hole-read from the practice round is obsolete if a 15 mph wind is blowing against you.
Wind is a Distance and Direction Control.
Treat it with numbers, not feelings. * Headwind: Add one club for every 10 mph. A 20 mph wind means two extra clubs. * Tailwind: Subtract one club. Beware: a tailwind also reduces backspin, so the ball will release more on the green. * Crosswind: Allow for drift. A 10 mph crosswind moves a mid-iron 5-7 yards. Aim that much into the wind.
Firm vs. Soft Conditions
You can’t control the weather, but you can control your golf ball selection. On firm, fast courses, a urethane-cover ball will check up better on greens. On soft courses, any ball will stop. * Strategy: On firm ground, plan for rollout. Your target landing area is shorter. On soft ground, you can fire at pins because the ball will stop quickly. * Read: Brown, tight fairways mean roll. Lush, green fairways mean stop. Adjust your expected yardage by 5-10% for rollout.
Common mistake: Forgetting that cold air is denser. When playing in cold weather, the ball doesn’t travel as far. Add half a club for every 10-degree drop below 70°F.
What to Do When Your Plan Isn’t Working
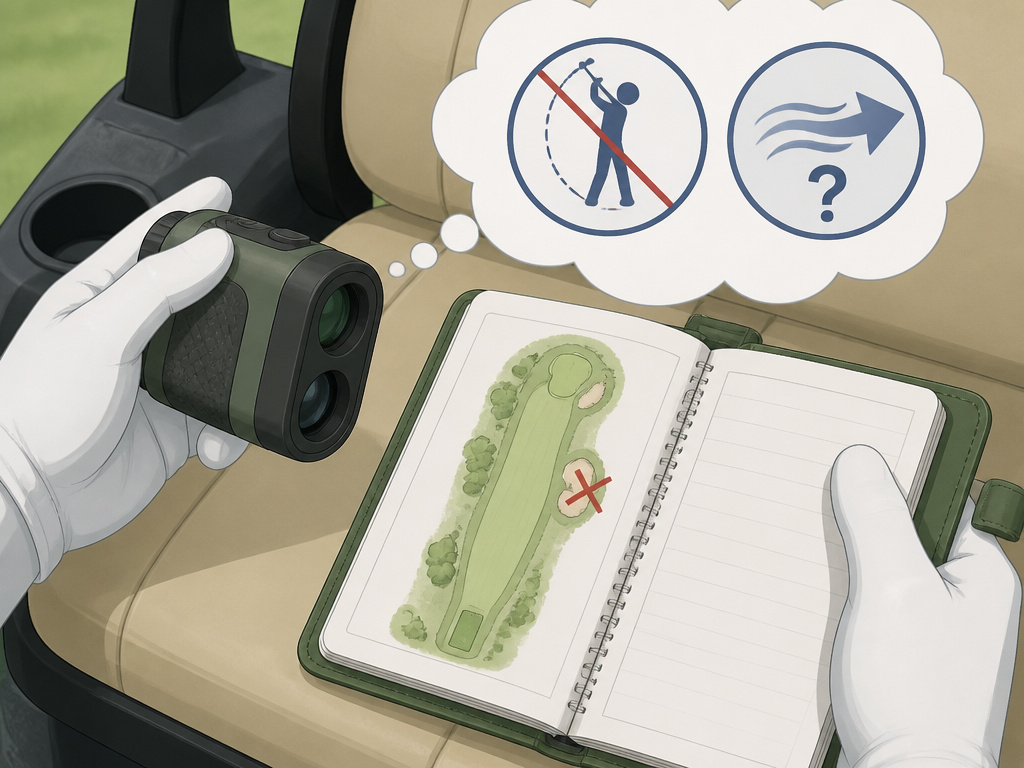
You mapped the hole, chose the perfect club, and still ended up in the junk. Now what? The wrong response is to scrap your entire process.
First, diagnose the failure. Is it technical or perceptual? * Technical Failure: You pulled the shot. Your swing was off. The solution is to widen your targets and play more conservatively, aim for the fat part of the green, not the pin. Don’t change your yardage book reads. * Perceptual Failure: You misjudged the wind, the slope, or the distance. The yardage was wrong. This is when you adjust your references. Trust your rangefinder more, or double-check your elevation math.
Abandoning a sound strategy out of frustration is how a bad hole becomes a bad round. The plan is there to protect you during the rough patches. Stick with the process, but be smart enough to know when the inputs were flawed.
Frequently Asked Questions
What’s the first thing I should look at on a tee box?
Find the yardage marker. Get your exact distance to the front, middle, and back of the green. Then, look for the single biggest hazard between you and the ideal landing area. Your first job is to avoid that.
How do I read a green from the fairway?
You’re not reading the break for a putt. You’re reading the contour for your approach shot. Look for the high point and the low point. Balls will roll from high to low. Identify where you can miss that will leave an uphill chip. That’s your “safe side.”
Do I need an expensive rangefinder?
No, but you need a consistent method. A basic rangefinder, GPS watch, or even well-marked yardage stakes work. Inconsistency is the enemy. Pacing off distances from sprinkler heads is a reliable, free method used by many good players.
How can I practice reading holes without playing?
Use Google Earth or course flyover videos. You can scout the layout, see the hazards, and note the green shapes from home. This is a huge advantage when you visit a new course. Pair this with studying the course’s online scorecard for official yardages.
Why do pros take so long to hit?
They’re running through this exact four-step checklist. They’re confirming wind with grass toss, checking their yardage book for the day’s pin position (like grid C-3), and visualizing the shot shape that fits the hole’s design. What looks like hesitation is a systematic download of information.
The Bottom Line
Reading a golf hole is a skill you practice with your eyes, not your swing. It starts with the discipline to look beyond the flag. Find the hazard distances, decode the green’s slopes, and let the wind give you a number, not an excuse. This turns pressure into procedure.
The payoff is the elimination of the catastrophic miss, the one that comes from not seeing what the course designer laid out in plain sight. Your scorecard will thank you for the quiet doubles that never happen.Now step onto the tee box. You have a plan.
