
Strategic Differences: Red vs Yellow Stakes in Golf Rules
This post contains affiliate links. As an Amazon Associate, we earn from qualifying purchases.
This post contains affiliate links. As an Amazon Associate, we earn from qualifying purchases.
Red stakes and yellow stakes both mark penalty areas in golf, but the color dictates your relief options. Yellow stakes offer two relief choices: stroke-and-distance or back-on-the-line relief. Red stakes offer those two plus a third, lateral relief option, allowing a drop within two club-lengths of where the ball last crossed the margin.
That third option changes everything. It’s the difference between a manageable penalty and a potential round-wrecker. The committee’s choice of stake color isn’t random, it’s a deliberate design decision that shapes how a hole should be played.
What follows is a breakdown of the two penalty area types, the specific relief procedures for each, and the strategic logic committees use when they reach for the yellow paint. By the end, you’ll not only know the rules but also understand the “why” behind the stakes you’re staring down.
Key Takeaways
- Red means lateral relief is available. You can drop within two club-lengths of where your ball crossed the penalty area margin, no nearer the hole.
- Yellow removes the lateral option. Your only relief choices are to replay your last shot or go back-on-the-line, keeping the point of entry between you and the hole.
- Committees use yellow to preserve a hole’s challenge, often on carries over water where lateral relief would unfairly bypass the hazard.
- You can move a loose yellow or red stake if it’s easily movable to play a shot, but you cannot move a white out-of-bounds stake.
- The 2019 Rules of Golf renamed “water hazards” to “penalty areas,” but the red and yellow stake definitions remained.
The Core Relief Difference
Forget everything you knew about “water hazards.” The 2019 Rules of Golf update introduced the term penalty area to describe any defined area where a ball may be lost or unplayable, with or without water. The stakes’ colors, red and yellow, tell you which set of relief rules apply.
The relief procedures are not interchangeable. Picking the wrong one is a two-stroke penalty in stroke play or loss of hole in match play.
Before you start: Taking relief from a penalty area always costs you one stroke. You cannot declare a ball unplayable inside a penalty area for a different relief option. You also cannot take free relief from an immovable obstruction, like a bridge piling, if your ball lies inside the penalty area.
The table below is your quick-reference decoder. Keep this mental image the next time you see color on the course.
| Relief Option | Available with Red Stakes? | Available with Yellow Stakes? | The Procedure |
|---|---|---|---|
| Play as it lies | Yes | Yes | Play the ball from within the penalty area. No penalty. |
| Stroke-and-Distance | Yes | Yes | Replay your last shot from the original spot. One penalty stroke. |
| Back-on-the-Line Relief | Yes | Yes | Drop on a line going straight back from the hole through the point where your ball last crossed the margin. One penalty stroke. |
| Lateral Relief | Yes | No | Drop within two club-lengths of where your ball last crossed the margin, no nearer the hole. One penalty stroke. |
Back-on-the-line relief is the one everyone gets wrong. You must keep the estimated point where your ball last crossed the edge directly between the hole and your drop spot. There is no limit to how far back you can go. You then get a one club-length relief area from that drop point.
The lateral relief option with red stakes is the safety valve. It keeps you moving generally forward, often saving you from a long walk back to the tee. When that option is removed by yellow stakes, the hole’s difficulty spikes.
Why Does This Distinction Exist?
If lateral relief is so helpful, why would a course ever use yellow stakes? The short answer is strategy. The long answer is in the Committee Procedures section of the Official Guide to the Rules of Golf.
The governing bodies, the USGA and R&A, actually recommend that most penalty areas be marked red. This simplifies the game and reduces confusion. So when you see yellow, it’s a deliberate choice.
Committees use yellow stakes when they want to preserve a specific challenge, usually a forced carry over a penalty area. If a pond fronts a green and the far bank is marked red, a player could hit over, see the ball roll back in, and take lateral relief on the far side, effectively rewarding a failed carry. Marking it yellow removes that possibility.
Where this goes sideways: Assuming all penalty areas are red. On a strategically yellow-marked hole, attempting to take lateral relief is a rules violation. You must correct the mistake before making a stroke, or the penalty compounds.
Another reason is feasibility. The back-on-the-line relief option must be physically possible. If a penalty area is tucked against a fence, woods, or another boundary, going back on the line might be impossible. In those cases, a committee might add a designated drop zone to provide a fair alternative to stroke-and-distance. If they don’t, and the area is yellow, your only practical option may be to re-hit.
When Committees Choose Yellow Over Red
Understanding the committee’s mindset helps you read the course. You’re not just looking at water; you’re reading an intention.
The Classic Forced Carry: A tee shot over a lake to a fairway. If the far side is red, a ball that carries but rolls back in gets lateral relief on the far side. If it’s yellow, that player must use back-on-the-line relief, often dropping on the tee side of the water again, or replay the shot. The yellow stake insists you fully complete the carry.
Protecting a Green’s Integrity: A stream that crosses in front of a putting green. This is a prime yellow-stake situation. The design challenge is to land your approach shot on the green. If the far bank were red, a player could fly the green, have the ball roll back into the water, and drop comfortably behind the hazard. Yellow ensures a failed shot is properly penalized.
When Lateral Relief Would Be Unfair: Imagine a long, narrow penalty area that runs along the side of a hole. If it’s red, a player can drop within two club-lengths sideways, potentially finding a perfect lie in the rough. If the committee believes this unfairly mitigates the error, they may mark sections of it yellow to force a more punitive back-on-the-line drop, often into deeper trouble or further back in the fairway.
I’ve seen this on classic links courses where a winding burn guards a hole. The stretch directly in front of the green is yellow, demanding a precise carry. The stretches farther out along the side are red, offering a chance for recovery. That’s not an accident; it’s course management in paint and wood.
Stakes as Obstructions: What You Can and Can’t Touch
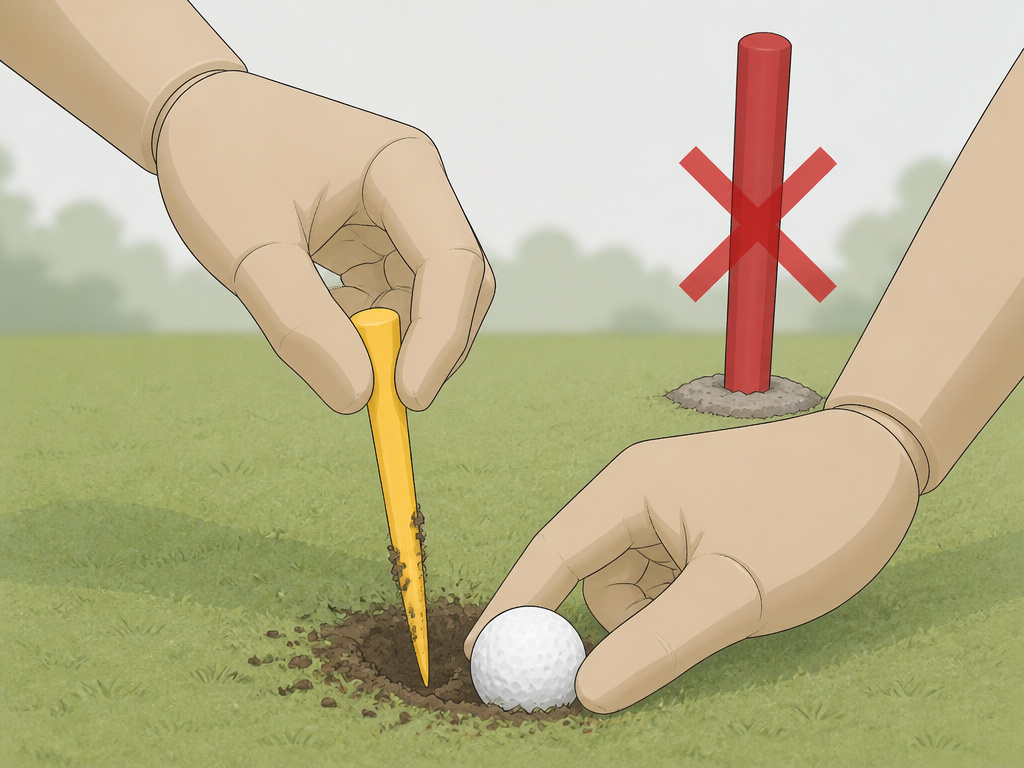
The stakes themselves are part of the field of play. What you’re allowed to do with them depends on their color and how they’re set.
Yellow and Red Stakes: If a stake is easily movable, think a thin wooden post pushed into soft ground, it is considered a movable obstruction. You can move it to play a shot. If your ball moves while you’re removing it, there’s no penalty; just replace the ball.
If that same yellow or red stake is cemented into the ground or deemed immovable by the committee, different rules apply. For a ball outside the penalty area, you get free relief from the immovable obstruction. For a ball inside the penalty area, you get nothing. You must use the standard penalty area relief options.
White Stakes (Out of Bounds): The rule is absolute. You cannot move a white OB stake, even if it’s loose, to gain a better stance or swing. Touching it to identify it is fine, but moving it to play your ball is a penalty. This is a non-negotiable difference that catches many players.
Frequently Asked Questions
Can you ground your club in a penalty area?
Yes. Since the 2019 rule change, you can ground your club lightly in a penalty area (red or yellow) just as you can in a bunker. You can also take practice swings that touch the ground and move loose impediments like leaves and twigs. Just don’t move your ball in the process.
What if my ball is in a red penalty area but I want to use back-on-the-line relief?
You can. The three relief options for a red penalty area are independent. You can always choose the more punitive option if it benefits your next shot. For example, if your ball crossed the red margin near a bush but going back on the line gives you a clean look at the green, you can choose that option.
How do I know where my ball last crossed the margin?
You must estimate the point. This is where honesty and the “virtual certainty” standard come in. If you are 95% sure it crossed at a specific spot, use that point. If you’re unsure, the default is to assume it crossed at the point most favorable to you (but not ridiculously so). In doubt, take a conservative estimate to avoid a potential serious breach.
What’s the difference between a penalty area and a lateral water hazard?
“Lateral water hazard” was the old term for what is now simply a red penalty area. The 2019 rules streamlined the language. All penalty areas can now include areas without water (like deserts, jungles, or thick brush). If it’s marked red, lateral relief is available. The old “yellow water hazard” is now a “yellow penalty area.”
Why do some courses use both red and yellow on the same hazard?
You might see a red and yellow stake stacked together. This marks a transition point where the penalty area changes from one type to the other. For instance, the section of a pond in front of a green might be yellow, while the portion stretching down the side of the fairway is red. Always obey the color for the section where your ball last crossed.
Before You Go
Red versus yellow isn’t just a color test. It’s a direct signal from the course architect about the risk and reward in front of you. Red says, “This is a penalty, but we’ll give you a way to keep the game moving.” Yellow says, “This is the challenge. Execute the shot or face a significant setback.”
The smart player does more than just follow the penalty area rules. They look at the yellow stakes ahead and recognize a strategic checkpoint. They know their free relief options vanish the moment the ball crosses that yellow line. That knowledge changes club selection, target choice, and overall course management.
So next time you stand on the tee, scan for color. Is the water lined with red or yellow? That answer should shape your entire plan for the hole. Play the reds with cautious recovery in mind. Attack the yellows only when you have the shot, and the nerve, to pull it off.
