
Explained: The Key Variables for Distance Control in Golf
This post contains affiliate links. As an Amazon Associate, we earn from qualifying purchases.
This post contains affiliate links. As an Amazon Associate, we earn from qualifying purchases.
**Distance control in golf is matching your club selection and swing execution to the exact yardage required, using three variables: your personal carry distances, your ability to execute the chosen shot, and the regulated performance of your equipment.It is about hitting the ball the precise distance you intend, shot after shot, rather than hitting it farther. The game’s governing bodies cap maximum ball distance at 317 yards under test conditions, so elite control comes from managing variability within that limit.
That 317-yard ceiling is the USGA’s Overall Distance Standard. It means manufacturers cannot simply make balls that fly farther forever. Gains now come from consistency, making a ball that flies 275 yards for you with a three-yard dispersion instead of ten. Your job is to shrink your own personal dispersion. This guide breaks down the three variables you control, the technology that helps (and sometimes hinders), and the physical swing mechanics that turn a number into a result.
Key Takeaways
- Distance control relies on three pillars: knowing your true carry distance for each club, having the swing technique to deliver the clubface consistently, and understanding how equipment specs like ball compression and shaft flex influence results.
- Relying solely on a distance-measuring device (DMD) can erode your innate yardage judgment. A 2019 study in the Golf Science Journal found golfers who owned DMDs had lower confidence in estimating yardage without them.
- The USGA’s Overall Distance Standard limits golf ball distance to 317 yards under test conditions, making consistency, not raw power, the key differentiator for amateur and professional improvement.
- Critical swing mechanics for control are maintaining lag for stored energy and controlling the low point of your swing to ensure ball-first contact, which directly influences distance predictability.
- Equipment choices must match your swing. Using a ball with a compression rating too high for your swing speed or a shaft flex too soft for your tempo adds uncontrollable variability.
The Three Variables of Distance Control
You have three levers to pull for consistent distance: your personal data, your swing execution, and your gear’s specifications. Most players focus only on the first and blame the third when shots miss. The execution lever is the one that breaks.
Personal Carry Distance: The average distance you hit each club with a centered strike, measured in the air (carry), not total distance including roll. This is your baseline map. Swing Execution: The delivery of the clubface to the ball with consistent speed, path, and angle of attack. This determines if the shot matches your map. Equipment Specifications: The regulated performance limits of your ball and clubs, and how their engineered traits (like golf ball compression and shaft flex) interact with your swing.
Ignore any one, and your control vanishes. A perfect yardage with the wrong club is short. The right club with a fat strike is short. The right strike with a ball that spins too much for your swing is short and offline.
Variable 1: Your Personal Distance Map
This is the distance your 7-iron actually flies, on average, when you make a committed, normal swing, not the distance you hope to hit it. You need two numbers for each club: your stock carry and your maximum carry.
Build this map on a launch monitor or a quiet range with precise targets. Hit ten shots with a mid-iron, discard the worst two, and average the rest. That’s your stock number. Your max is the best of the bunch. The gap between them is your consistency window. A pro’s window might be five yards. A 15-handicap’s might be twenty.
| Club | Stock Carry (yards) | Max Carry (yards) | Consistency Window (yards) |
|---|---|---|---|
| 7-Iron | 150 | 158 | 8 |
| 8-Iron | 138 | 145 | 7 |
| Pitching Wedge | 110 | 116 | 6 |
Where this goes sideways: Building your map with range balls. They fly 10-15% shorter than premium balls. Your on-course distances will be longer, and you’ll consistently airmail greens. Use the same ball you play, or add 10% to your range-ball numbers.
Variable 2: Swing Execution – The Delivery System
Knowing your 150-yard club is useless if you can’t deliver the club to the ball the same way twice. Two technical elements are non-negotiable for distance control: low point control and lag.
Low point control means hitting the ball before the ground. The club’s lowest point in the swing arc must be just after the ball for a crisp strike. A fat strike (low point before the ball) saps energy and loses up to 30% of your intended distance instantly. A thin strike (low point too far after) adds loft and reduces spin, leading to a low, uncontrollable runner.
Creating and maintaining lag, the angle between your lead arm and the club shaft on the downswing, stores elastic energy. Releasing that energy at the right moment maximizes clubhead speed through impact. Casting the club early (losing lag) bleeds speed and leads to weak, high shots that fall short. Mastering lag in the swing is what separates a powerful, repeatable move from an inconsistent swipe.
Common mistake: Trying to “help” the ball into the air by scooping. This destroys low point control and lag. Let the club’s loft do the work. Your job is to deliver a descending blow with a forward shaft lean.
Variable 3: Equipment – The Regulated Variables
Your equipment must match your swing, and its performance is bounded by rules. The USGA and R&A’s 2028 Overall Distance Standard is the guardrail. It states a conforming ball cannot exceed 317 yards under specific robot testing conditions (125 mph clubhead speed, 75°F, 50% humidity).
This rule is why the long-drive arms race is over. Gains now come from optimizing for your swing within these limits. Three specs matter most:
- Ball Compression: A ball’s resistance to deformation. Match it to your swing speed. Too high a compression (e.g., a 90+ rating for an 85 mph swing) feels like a rock and won’t compress fully, losing distance. Too low a compression for a fast swing over-deforms, creating excess spin and ballooning shots.
- Shaft Flex: The bend profile of the club shaft. It must match your swing tempo and transition. A shaft too stiff won’t load properly, robbing you of power and feel. A shaft too soft will whip uncontrollably, causing inconsistent strikes and dispersion. The right golf shaft flex helps you deliver the clubface squarely more often.
- Club Loft: The primary launch angle driver. Modern drivers have adjustable hosels. Too little loft for your swing speed launches the ball too low with not enough spin; it falls out of the sky. Too much loft adds spin and turns a drive into a pop-up. Understanding golf club loft is critical for maximizing carry off the tee.
How Distance Measuring Devices Help and Hurt
A laser rangefinder or GPS watch gives you a number. It does not give you a shot. The data from the R&A 2023 Distance Report shows pros are hitting longer than ever, but their improvement is also about precision with their tools.
The paradox is in the research. A peer-reviewed study in the Golf Science Journal publication on trust in automation found that golfers who owned DMDs had lower confidence in their ability to estimate yardage without the device than those who didn’t own one. The technology becomes a crutch that atrophies your innate judgment.
When DMDs are essential:
- Getting a precise number to a hidden pin or a blind landing area.
- Confirming your eyes aren’t fooled by elevation or perspective.
- Mapping your personal carry distances on the course during a casual round.
When to put the DMD away:
- On the practice range to develop your eye.
- When playing a casual round with friends, try estimating first, then checking.
- When battery life is low or the device fails. Your brain is the backup system.
The goal is to use the device to confirm your judgment, not replace it. Your best rounds will happen when the number on the device matches the picture in your mind, and your body executes the swing you’ve rehearsed.
The Physical Factors You Can’t Ignore
Your personal map changes daily. Ignoring these environmental and physical factors turns precise control into a guessing game.
Altitude and Temperature: Air is thinner at high altitude. A ball flies farther with less drag and spin. The effect of altitude can add 10% or more to your carry distance. Cold, dense air has the opposite effect, shortening shots significantly. You must adjust your map.
Wind: This is the great variable. The old rule is to play one more club for every 10 mph of headwind. For a crosswind, aim to let the ball drift with the wind, but understand it will also affect carry distance, a left-to-right wind can also act as a slight tailwind depending on your shot shape.
Fatigue and Adrenaline: Late in a round, fatigue reduces swing speed and compromises technique. Adrenaline, from competition or a crucial shot, can add unexpected yards. Know your tendencies. Do you tend to come up short when tired? Take one more club.
Lie and Turf Conditions: A ball sitting down in rough will fly shorter due to grass grabbing the clubhead and reducing spin. A perfect fairway lie gives you the truest strike. Hardpan can cause a flier, a shot that comes out hot with low spin, flying 5-10 yards longer than normal.
| Factor | Typical Impact on Carry | Mental Adjustment Required |
|---|---|---|
| High Altitude | +5% to +15% | Club down (e.g., 9-iron for 8-iron yardage) |
| Cold vs. Warm Air | -5% to +5% | Club up in cold, club down in heat |
| Headwind (10 mph) | -5 to -15 yards | At least one extra club |
| Ball in Rough | -5 to -10 yards | One extra club, expect less spin |
| Adrenaline (Competition) | +3 to +7 yards | Trust your stock yardage, don’t overswing |
Building a Repeatable Process for Every Shot
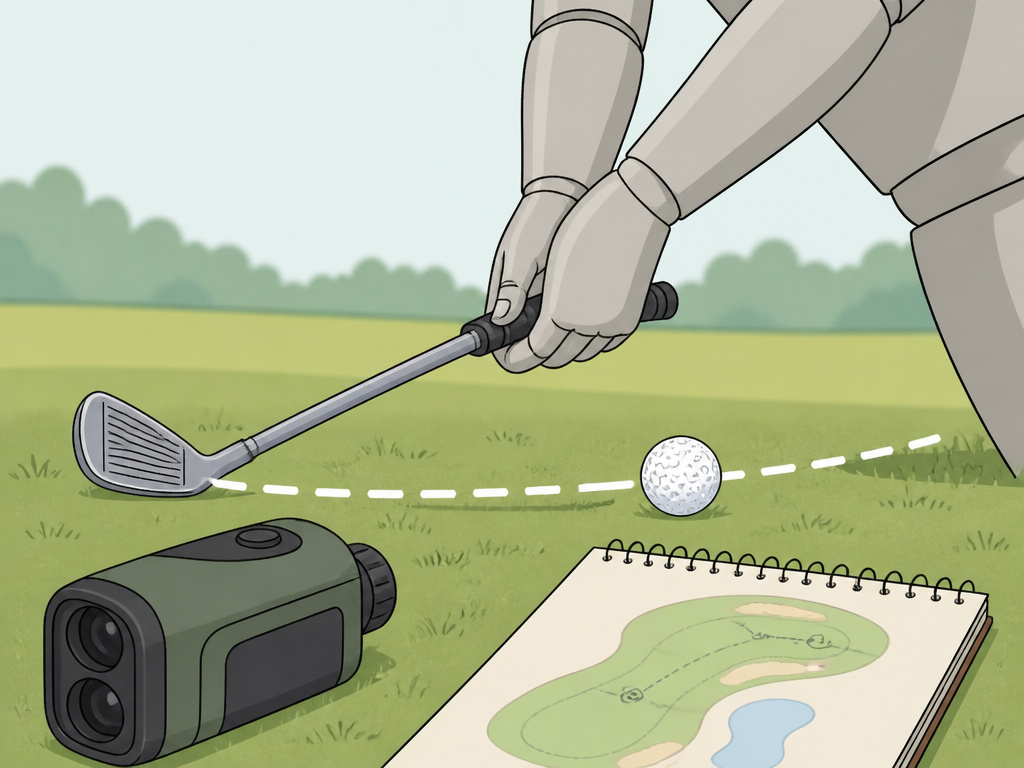
Control is a routine, not a single decision. Here is the four-step process to lock it in.
- Get the Number: Use your DMD or course markers. Is it a front, middle, or back pin? Add or subtract 5-10 yards accordingly.
- Select the Club: Consult your personal distance map. Factor in wind, elevation, and how you’re feeling. Decide on your stock shot or if you need to hit a hard or easy one.
- Commit to the Visual: Pick a specific target, a leaf, a discolored patch of grass, not just “the green.” Visualize the ball flight and trajectory needed.
- Execute the Rehearsed Swing: This is where low point control and technique vs strength dominate. Make your practice swing focusing on solid contact, then step in and repeat it. Don’t try to “hit it 150.” Try to make your swing.
The part amateurs skip is step 4. They get the number, grab a club, and immediately swing with outcome anxiety. The rehearsal swing bridges the gap between the mental plan and physical execution.
Worth knowing before you start: Your worst distance control days will happen when you stop trusting your process after one bad shot. Stick to it for the entire round. The law of averages will reward you.
Frequently Asked Questions
What is the most important factor for distance control?
Swing consistency, specifically delivering the clubface squarely with a consistent angle of attack. You can have perfect yardages and perfect equipment, but if your strike is erratic, your results will be too. Solid, ball-first contact is the non-negotiable foundation.
How often should I update my personal distance chart?
At the start of each season and anytime you make a significant equipment change (new clubs, new ball model). Your distances can also drift as your swing evolves or your fitness changes. A quick check every few months on a launch monitor keeps your map accurate.
Do pros struggle with distance control?
They struggle less, but their margins are smaller. A pro’s miss might be three yards long instead of ten yards short. They manage it through exhaustive practice of their stock distances, superior strike quality, and caddies who account for minute environmental changes they might not feel. The principles are the same, just executed at a higher level.
Can the right golf ball really improve my distance control?
Absolutely. A ball that matches your swing speed and preference for feel will produce more consistent spin rates and launch angles. Playing the same ball model all the time removes a major variable. Switching between a rock-hard distance ball and a soft spin ball round-to-round guarantees inconsistency.
Is it better to use a GPS watch or a laser rangefinder?
It depends. Lasers are more accurate to a specific target like a flag. GPS watches are faster for front/middle/back distances and work to blind targets. Many serious players use both: a watch for most shots and a laser for precise approaches. The best device is the one you’ll use confidently and quickly.
The Bottom Line
Distance control is a system. You need an honest map of your distances, the swing technique to hit the center of the face, and equipment that fits you.The governing bodies have capped how far the ball can go, so the modern game is about precision within that space.
Spend less time chasing more yards and more time shrinking your personal dispersion. Practice your 150-yard shot until you know, with certainty, which club gets it there nine times out of ten. Learn how wind and slope change that number. And understand that the device in your pocket is a tool for confirmation, not a replacement for your own judgment. Control the variables you can, adjust for the ones you can’t, and your scores will drop.
