
At-Home Putting Drills: A Pro Practice Plan That Transfers
This post contains affiliate links. As an Amazon Associate, we earn from qualifying purchases.
This post contains affiliate links. As an Amazon Associate, we earn from qualifying purchases.
Effective putting drills you can do at home require matching three things: a quality surface, a structured progression from mechanics to pressure, and measurable targets. The goal isn’t to make 100 straight putts on carpet; it’s to build a stroke that holds up under course conditions. Start with face control drills like the Gate, progress to distance work with the Ladder, and finish with pressure simulations like the 10-in-a-Row challenge.
Most golfers roll a few balls on the living room rug and call it practice. That builds nothing. Real improvement comes from a sequence that mirrors how you actually use putting on the course—first you need a reliable stroke, then consistent speed, and finally the nerve to execute when it counts. The living room is perfect for the first two; the third requires you to manufacture stakes.
What follows is the blueprint. We’ll cover the non-negotiable setup, five foundational drills with exact measurements, and how to structure a 25-minute session that translates directly to lower scores. This is the work you do when no one’s watching.
Key Takeaways
- Your putting mat is the foundation. A cheap, bumpy mat teaches compensations that fail on real greens. Invest in a tour-grade surface like the Chiputt or a feedback system like PUTTR.
- Start every session with the Gate Drill. The PuttOut small gate requires a face angle within 0.5 degrees—master that tolerance from one foot before moving back.
- Distance control is a speed game, not an aiming game. Use the Ladder Drill (2, 4, 6, 8, 10 feet) to calibrate your stroke length, aiming to stop each ball within a 6-inch circle.
- Never practice long lag putts to a hole. Use a tee or towel as a target; penalizing misses on 30-footers is unrealistic and hurts confidence.
- Track your numbers. Log your “10-in-a-Row” attempts or Compass Drill scores (14/16 from each distance). Improvement is invisible without data.
Setting Up Your Home Putting Studio
You need about eight feet. A hallway, a section of hardwood floor, or a cleared garage space works. The ceiling must clear your follow-through—low-hanging lights are a genuine hazard. Overhead or side lighting is best, casting no shadows across your line.
The surface decides everything. Thin carpet or hard flooring under a mat is fine. Thick shag carpet kills roll and energy, making feedback useless. Your mat is not an accessory; it’s your practice green. A cheap mat with inconsistent speed or bumps forces you to manipulate your stroke to make puts. You’ll groove a compensation that shatters on the first real green.
A quality home putting mat, like the Chiputt Tour-Grade, provides a true, consistent roll. It’s the single most important piece of equipment for effective practice at home. For tech-driven feedback, a smart system like PUTTR tracks ball speed and line, revealing patterns like consistently leaving 8-footers short.
Where this goes sideways: Using a dead, slow carpet. You’ll start hammering putts to get them to the hole, destroying your tempo. On a real green, those same strokes will race 10 feet past.
Beyond the mat, a few cheap tools unlock every major drill: two golf tees for gates, a yardstick or tape measure, a coin, and a small towel. That’s it. You don’t need a full suite of the best golf practice tools to start, but they expand your options.
The 5 Foundational Putting Drills for Home
These drills build the engine of a reliable putting game. They are boring, repetitive, and absolutely essential. Do them in this order.
1. The Gate Drill (Face Control)
This is stroke hygiene. Set two tees just wider than your putter head and the ball, creating a gate about a putter-head width plus a tiny margin. The goal is to strike the ball through the gate without touching the tees.
Start with the ball one foot from the gate. The tolerance is brutally small. Using a device like the PuttOut small (50mm) gate at the 1-foot mark, the putter face must be within 0.5 degrees open or closed for the ball to roll through. This isn’t about making puts; it’s about training a square impact. Make ten clean passes in a row before moving the ball back to three feet.
This drill is the physical expression of good putting alignment. If you can’t send the ball through a gate from three feet, your alignment or stroke path is off.
2. The Ladder Drill (Distance Control)
Distance is more important than line. Place markers at 2, 4, 6, 8, and 10 feet from your hitting spot. Don’t use a hole. The goal is to roll each putt so it stops within a 6-inch circle around the marker.
Putt five balls from the 2-foot mark, then five from 4 feet, and so on up the ladder. Then work back down. Focus on the length of your stroke, not the outcome. Your brain needs to connect a specific backswing length with a specific ball distance. This is the core of speed control.
| Distance | Target Stop Zone | Common Mistake |
|---|---|---|
| 2–4 feet | Within 6 inches | Decelerating through impact; ball comes up short. |
| 6–8 feet | Within 6 inches | Over-acceleration; ball runs 2-3 feet past. |
| 10+ feet | Within 12 inches | Using arms instead of shoulders; inconsistent pace. |
3. The Clock/Compass Drill (Holing Out)
Now introduce a hole. Place four tees around the cup at 3, 4, 5, and 6 feet, forming a compass. Putt four balls from each tee location (16 total). The goal is to make 14 out of 16.
This drill tests your ability to adjust to slight visual breaks from different angles. It’s a brutal efficiency test. If you miss more than two, start over. It builds the mental stamina required for those knee-knocking four-footers on the back nine. This kind of repetitive, pressure-adjacent work is also a proven method for how to overcome the putting yips.
4. The Lag Drill (Long-Range Touch)
For putts longer than 15 feet, your goal shifts from making to avoiding a three-putt. Set tees at 20 and 30 feet from your hitting spot. Do not putt to a hole. Use a tee, a coin, or the fringe of your mat as a target.
Putt five balls from 20 feet, trying to get each to finish within a three-foot circle of the target. Then do five from 30 feet. The objective is proximity, not perfection. This trains your brain for the real game, where lag putting is about damage control. As noted in the British Columbia Golf practice page, penalizing yourself for not making long putts is unrealistic.
5. The One-Handed Drill (Feel and Path)
This feels awkward. It works. Practice putting five-footers using only your lead hand (left hand for right-handed golfers). Then switch to only your trail hand.
The lead-hand drill emphasizes a straight-back, straight-through path and prevents the trail wrist from breaking down. The trail-hand drill isolates feel and touch. You’ll quickly discover which hand is dominating your stroke and causing pushes or pulls. It directly complements work on your putting grip by exposing instability.
From Practice to Pressure: Advanced Home Routines
Once the fundamentals are automatic, your home practice must simulate pressure. This is where strokes are truly saved.
The 10-in-a-Row Challenge
Pick a straight putt distance where your make rate is about 60% (e.g., five feet). The rule is simple: make ten in a row. If you miss, the count resets to zero. Track how many total attempts it takes to complete the cycle.
The first five are easy. The sixth brings tension. By the ninth, your heart rate is up. This is the point—replicating the feeling you have over a four-footer to save par. It’s the single best home drill for competitive grit.
Random Practice with a Purpose
Blocked practice (hitting the same putt repeatedly) feels good but doesn’t transfer. Varied practice does. Write down five different putts on cards: “7-foot left break,” “4-foot straight,” “12-foot lag,” etc. Shuffle the cards and pull them at random, executing each putt once before moving on.
This forces constant adjustment, just like a real round. For a tech-assisted version, apps like The Stack Putting App generate random putts and calculate your Strokes Gained, providing objective data on improvement.
Creating a 25-Minute Practice Plan
Structure beats marathon sessions. Here’s a pro-inspired template:
- Minutes 0–5: Warm-Up. Gate Drill from 1 and 3 feet. Focus on clean contact.
- Minutes 5–15: Skill Development. Ladder Drill (up and back once) or Compass Drill.
- Minutes 15–20: Pressure Simulation. 10-in-a-Row Challenge from five feet.
- Minutes 20–25: Lag & Feel. One-Handed Drill from five feet, then five lag putts to a towel from 20 feet.
This plan covers face control, distance, holing out, and nerve. Do this three times a week, and your confidence on the greens will change.
What to Avoid in Your Home Practice
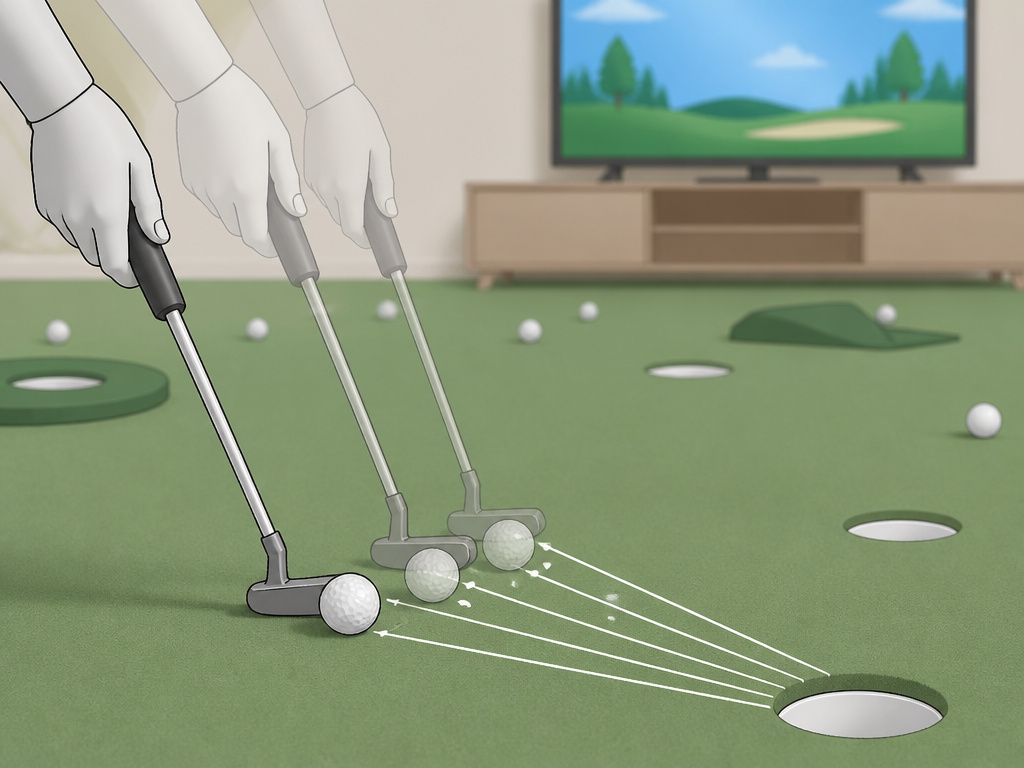 Good practice builds. Bad practice ingrains flaws. Steer clear of these traps.
First, using a dead surface. As mentioned, it ruins tempo. Second, only practicing makeable putts. If you never rehearse the 30-foot lag, you’ll three-putt when it matters. Third, practicing without a goal. Rolling 50 balls while watching TV does nothing.
Common mistake: Putt after putt to the same hole. You fall into a repetitive rhythm that doesn’t exist on the course. Your brain stops learning. Mix up distances, breaks, and targets constantly.
Finally, ignoring your short game drills as a whole. Putting doesn’t exist in a vacuum. A poor chip leaves a longer, harder putt. Integrate your practice.
Frequently Asked Questions
What is the most effective putting drill to do at home?
The Gate Drill is the most effective because it provides immediate, objective feedback on the single most important factor: a square putter face at impact. If the ball doesn’t pass cleanly through the tees, your stroke is off. It removes guesswork and builds a reliable foundation for every other putting skill.
How long should my home putting mat be?
Aim for at least 8 feet, with 10-12 feet being ideal. This allows you to practice critical putts in the 3-8 foot range (where most putts occur) and also work on lag putting feel. For a comprehensive review of options, see our guide on the best putting mats available.
Can you really improve putting on carpet?
You can improve the mechanics of your stroke on carpet, but only if you use a quality putting mat that simulates a true roll. Practicing on thick, slow living room carpet will damage your distance control. The key is using a consistent surface that provides honest feedback.
How do I practice breaking putts indoors?
Use a putting aid with a built-in slope, like certain models of the PuttOut, or place a thin book under one side of your mat to create a slight incline. You can also use a “plane board” training aid to practice striking up on the ball for a true roll, which is essential for breaking putts. Many of these are included in lists of the best putting aids.
Is a putting mirror worth it?
Yes, for diagnosing setup issues. A putting mirror helps verify your eye position is over the ball and that your shoulders are square to the target line. It’s a valuable checkpoint, but it’s a diagnostic tool, not a practice drill. Use it for 5 minutes at the start of a session to confirm your alignment, then put it away and focus on ball striking.
Before You Go
Home putting practice works if you treat it like a project, not a pastime. Start with a true surface. Drill the gate until a 0.5-degree tolerance feels normal. Move to the ladder, then the compass. Finally, add the pressure of the 10-in-a-row challenge.
The goal isn’t to become a living room hero. It’s to make your stroke so reliable that when you step onto an actual green, the only variable is the read. The work you do alone, with two tees and a measuring tape, is what pays off when someone’s watching.
